
This Thursday, a friend asked me to do some painting in her baby's nursery.
She is having a boy and wanted a baby room theme that can be used as he grows.
 |
| picture they found online for an idea |
They chose the travel/nautical theme'
Using some ideas from the (above) picture
and the colors in the curtains they purchased (below),
we talked about what they wanted on the walls of the nursery.
A compass will go over the crib and a boat will go on the wall facing the door.
 |
| Curtains for the nursery |
One of my favorite things to do is paint.
I love making an empty space have character.
For years I have been painting on walls for buisnesses, ministries,
at friends homes, and at my house.
I was so blessed to be asked to do something special
in the baby room at my friends' new home.

I brought along my supplies and looked at the bare walls.
This is where the baby crib will go.

Usually, I do my painting freehand, from a picture someone liked
or I use a stencil and then add to the painting.
This time I brought my laptop and projector.
It is hard to freehand draw a compass and I wanted to get it just right.
(It is a humbling experience to start painting on someone's wall.)

After finding a similar image online, I measured out where it should go on the wall.
A few tips on centering an object came to mind as I started this project.

Take a good look at your room overall.
There is a ceiling fan in the room and a closet door on the left wall.
If I center the image according to the wall measurement,
then it is off center with the ceiling fan.
If I center it with the fan, then it is off center a few inches with the wall.
I chose to center it with the ceiling fan,
since that seems to be what we would consider the center of the room.
This puts the image a few inches to the right, which leaves a few inches more for clearance of the closet door.
Honestly, you can't tell it is off center.

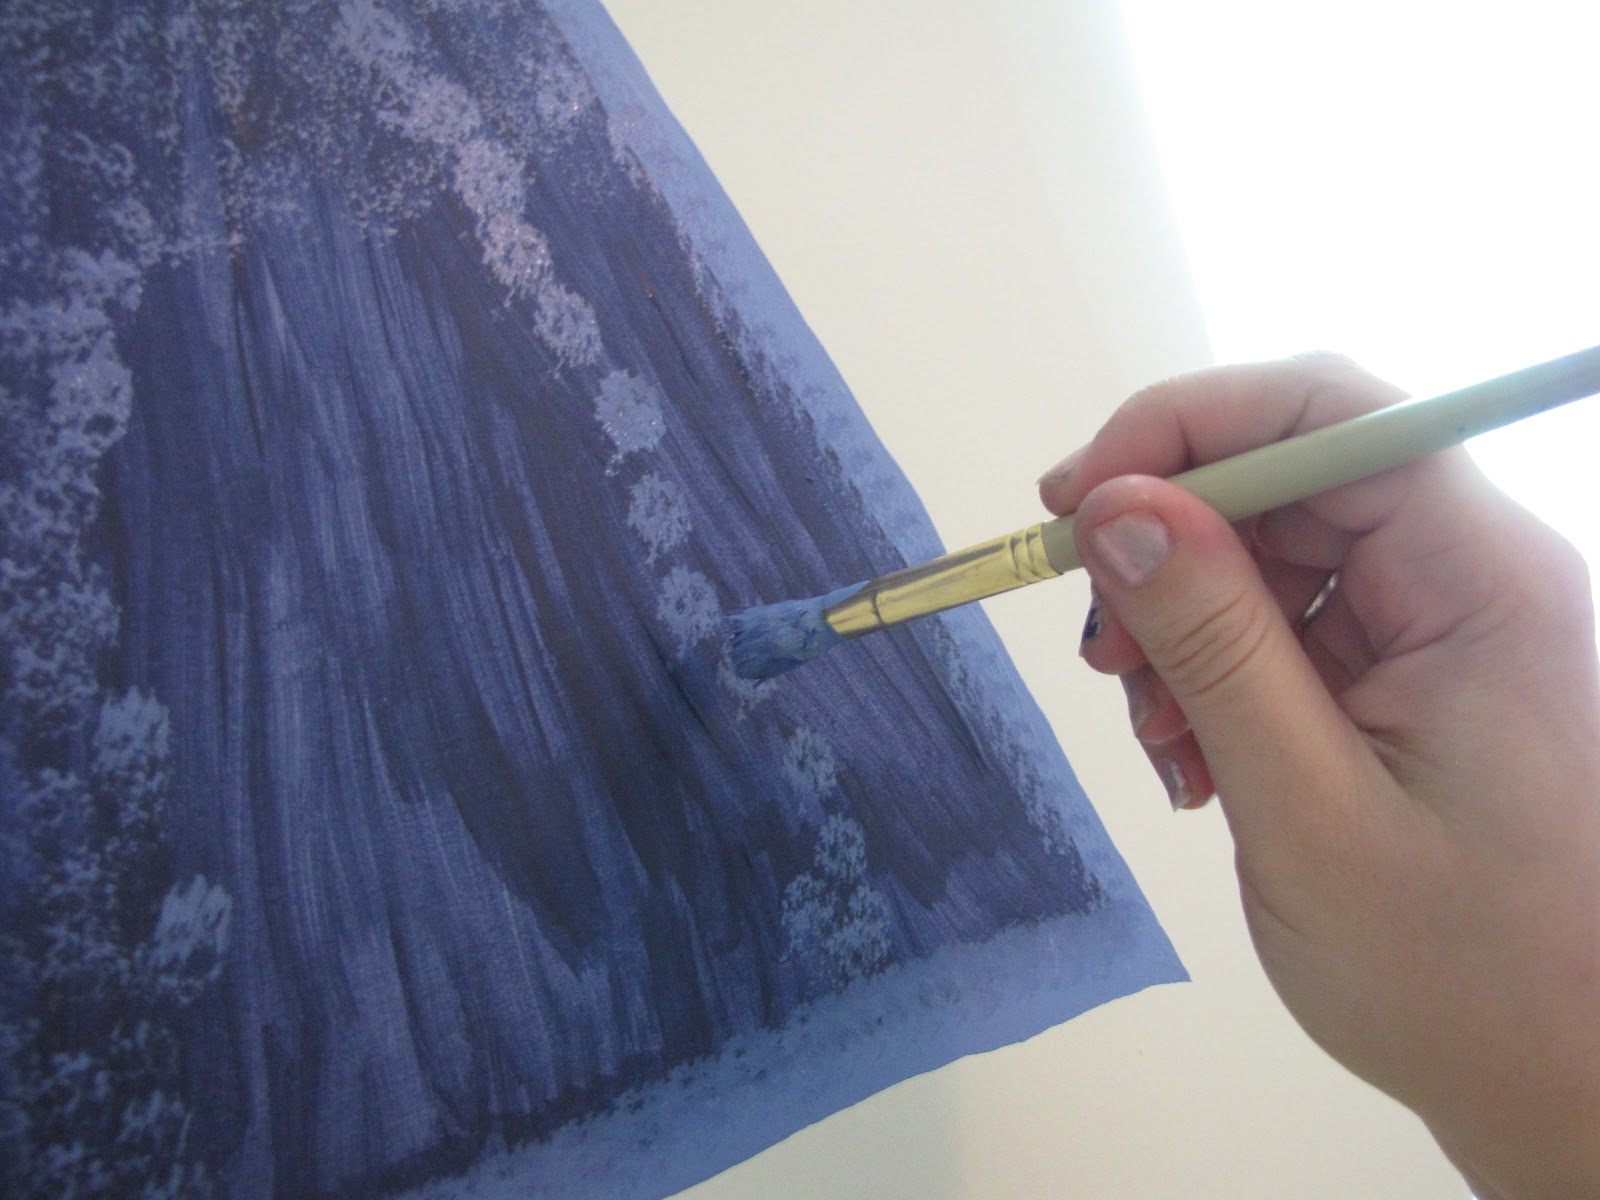
After centering the object, I begin tracing the parts I want to go on the wall.

With a pop-point pencil (you know the kind we used in school that are full of points. when the point gets dull you take it off the front and put it on the back and it pushes a new point forward.) and a clear ruler I carefully traced the points of the compass.
You will see that I did not use all of the image, only what I wanted.
As I traced, I was sure to mark which of the parts get the darker paint
and which get the light.

After the design is on the wall, I make sure it is what we wanted,
then I go to town with the paint.
 |
| Dark color only |
 |
| Light color added |
 |
| Starting to paint the center |
 |
| Verse added |
As you can see, the center looks squished and kind of rounded.
I did this so that it looks 3-D and pops out instead of looking like a flat center.
I finished off the points by brushing a little grey on each point
for a little depth of shading.
We had also talked about a verse, but were not sure where to put it.
It seemed very fitting to put the verse in the center of the compass.
 |
| Finished Compass The compass lettering was done in Apple Barrel Barn Red, with my favorite letting stencil. I traced the stencil and then painted.  |
Next, came the boat.

This time, I did not trace the edges, but went straight to the wall with the brush.
As you can see, I started with an outline in the lighter blue,
and then did the inside of the sails in a darker blue.
When the dark blue was finished I went back over it and dabbed my paint brush in lighter paint over the darker. I dabbed alot in places where I wanted more shadow.
This gave the sail a different, dimensional look.

For the boat, I outlined in the dark brown used on the circle of the compass.
Then I colored it in with a creamy brown (also used in the center of the compass).
To make the boat boards I slowly slid my brush across the boat in that darker brown,
leaving gaps between each stroke.

For an added touch, I put a few stripes on the sails to match the stripes in the curtains, and added a name plate to the boat (the letters were done with a black Sharpie).
 |
| Finished boat |
The sail was painted in the same red as the compass letters
and the same grey was used to shade it.

This is what the nursery looks like so far.
I can't wait to see it when the crib is up
and the Sweet Little Baby Boy is asleep in his room!
To read about what the Lord reminded me of,
while I painted this project click here.
2 comments:
good job! it looks nice!
Neat!! Looks really nice!! Good to know they are having a boy...I didn't know. Now I know what kind of gift to give them. :) You should link your fun ideas up to places to share them more. I have a link on my blog of places I link up to, if you ever want to. :) It gets you more readers and might get you some more supporters as well. :)
Post a Comment