

The other year, my brother and I decided to do something for Easter that will last a lifetime.
I am finally (2 years later) getting the chance to post this.
We decided to make a new craft out of eggs.
To make this craft, you will need:
-fresh eggs
- a large needle
-bamboo skewer
- lots of hot air
- masking tape
- imagination
- sand/grit
- acrylic paint
- beads or other accessories
- wire

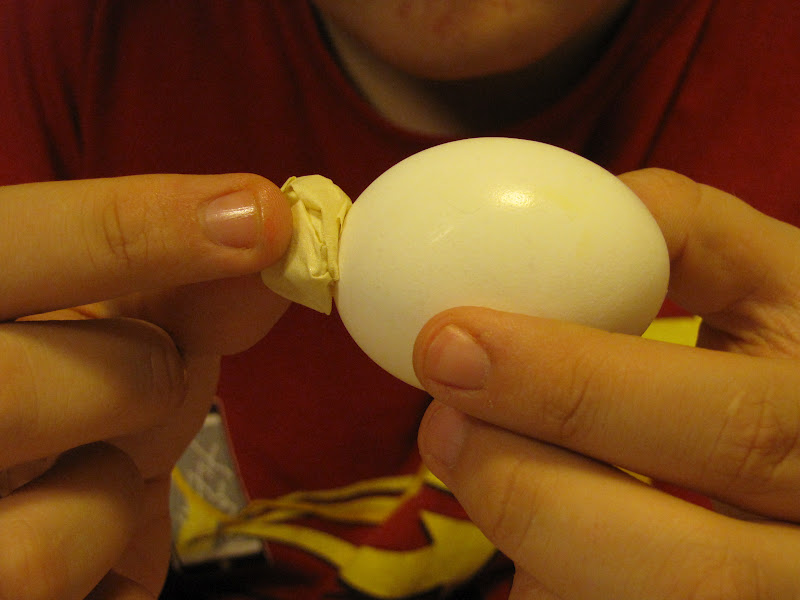
STEP 1: Pierce a fresh egg on the top and bottom with the needle.
(One hole to blow through and one hole for the yoke to go out of.
*If you have trouble getting it all out try popping the yoke with your needle.)

STEP 2: Make the holes larger by twisting the skewer into the hole.
(don't twist too hard or you will break the egg)

STEP 3: Now blow the yoke out of the hole.

STEP 4: Clean and dry the egg.
STEP 5: Get creative!
I wanted to make a bird so I first formed his head.

Then I used the tape to make his body.

My brother, William, wanted to make a cat.
See the head and ears?
Pretty good, huh!

Here are the wings on my bird.

I continued to wrap it with masking tape.


William's cat is taking shape too.
See how he made the feet and attached them to the egg?

This is my finished bird and partially finished rooster.

William got all four legs on his cat.
Its so fun having a brother who loves to create like I do!

STEP 6: Attach the hanging wire.
I just cut a piece of wire, shaped it like above,
and then taped it onto the bird.

Now the cat has a tail !!!

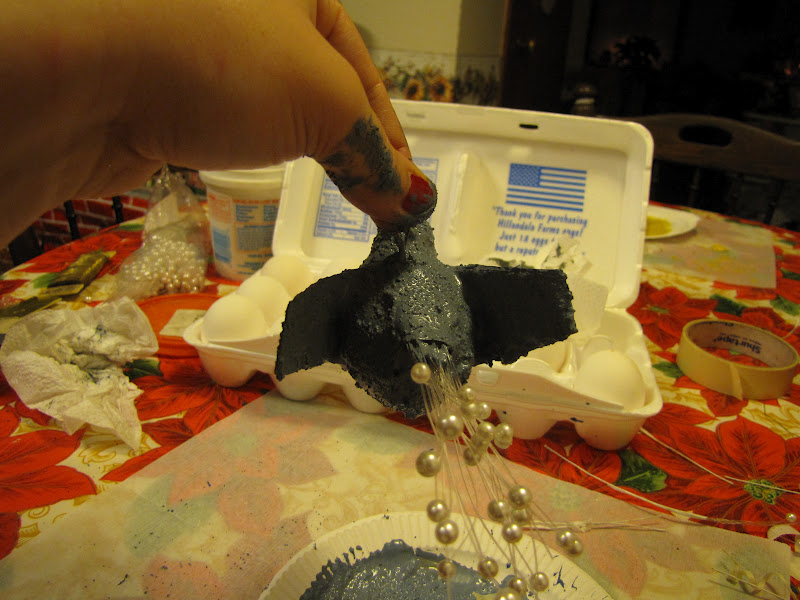
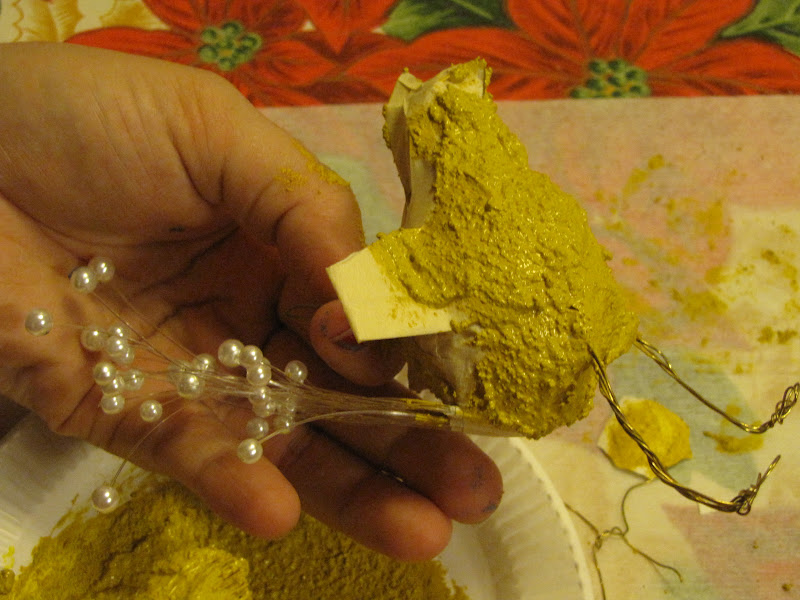
STEP 7: Mix your paint colors and add just enough sand/grit
to give your paint the texture you need.
*I chose to do this to cover up the tape seems.
It gives the ornaments a cleaner, textured look.

STEP 8: Paint your ornament.

Be sure to give it a nice thick coat of paint.
You saw how I made the bird, but the chicken was a little tricky-
I used wire to make feet for the chicken.

Then I used tape to secure the feet in place.

I already showed you how to do the rest (see steps above).
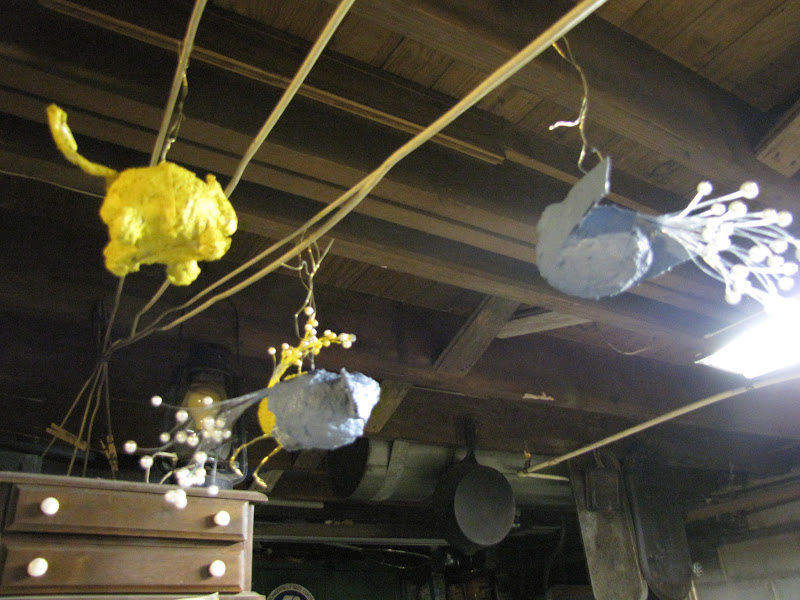
STEP 9: hang to dry.

ENJOY!!!

Linking up with: Rustic Renovations Weekend
2 comments:
That is so cool!! I love how you used the beads for the tail! Thanks for sharing! :)
Very cute! Thank you for linking this up with Rustic Restorations Weekend!
Post a Comment