Showing posts with label easy gifts. Show all posts

Saturday, December 28, 2013

Tidings of COMFORT & JOY - Ornament


This is one of the simplest ornaments I have made.

SUPPLIES - 
- white, red, & green cardstock
- green ink 
- Christmas greetings
- red glitter pen
- ornament paper punch
- gold cord
- pearl bead
- double sided tape/Mono Adhesive


INSTRUCTIONS- 
STEP 1 : Stamp your Christmas greetings onto the white cardstock. 
              You should have a front & back for each ornament.

STEP 2 : Use the red glitter to accent the stamped images. Set aside to dry.

STEP 3 : After the images are dry, punch them out using the ornament punch.
              (I used Stampin' Up's ornament punch.)
   
STEP 4 : Then punch 2 red & one green for each ornament you want to make.


STEP 5 : Adhere the layers together with the double sided/Mono adhesive.

STEP 6 : Use a large needle or piercing tool to poke a hole in the top.

STEP 7 : Put the gold cord through the hole and then through the bead.
              Knot the gold cord at the top.

STEP 8 : Fold the white and red cardstock a little so that the ornament is
              no longer flat, but 3d.
(I made these ornaments as a gift for our Ladies Christmas Tea.)


Joy Wreath - Ornament


In review of the lesson from the week before & the Wreath Card,
we made this cute ornament.
We reminded the kids that JOY comes from knowing Christ as Saviour. 
Then we talked about the joy and rejoicing surrounding the birth of Christ.

SUPPLIES:
- 16 green "pony" beads
- 7 smaller skinny red beads
- 3 small round red beads
- 8in piece of craft wire
- "JOY" charm
- 6in piece of red ribbon
- wire cutter
- long nose pliers

INSTRUCTIONS:


STEP 1-  String your beads onto the wire.  
              Hold one end of the wire, so that the beads will not slid off.
              2 green, 1 sm. skinny red, 2 green, 1 sm. skinny red, 
              & repeat pattern till all the beads are used.

*Tip: We did this craft together.  I had a bunch of review questions to ask and as they answered them, everyone got beads to put on the wire, until all of the beads were on.


STEP 2 - Make your wreath shape by twisting the wire together at the top.
STEP 3 - String the 3 small round red beads onto one side of the wire after it
               is twisted in place.
STEP 4 - Attach the "Joy" charm just below the red beads.
STEP 5 - Cut the wire shorter and use the pliers to curl the wire behind the 
              "Joy" charm.
STEP 6 - Curl the other side of the wire into a hanger for the ornament.


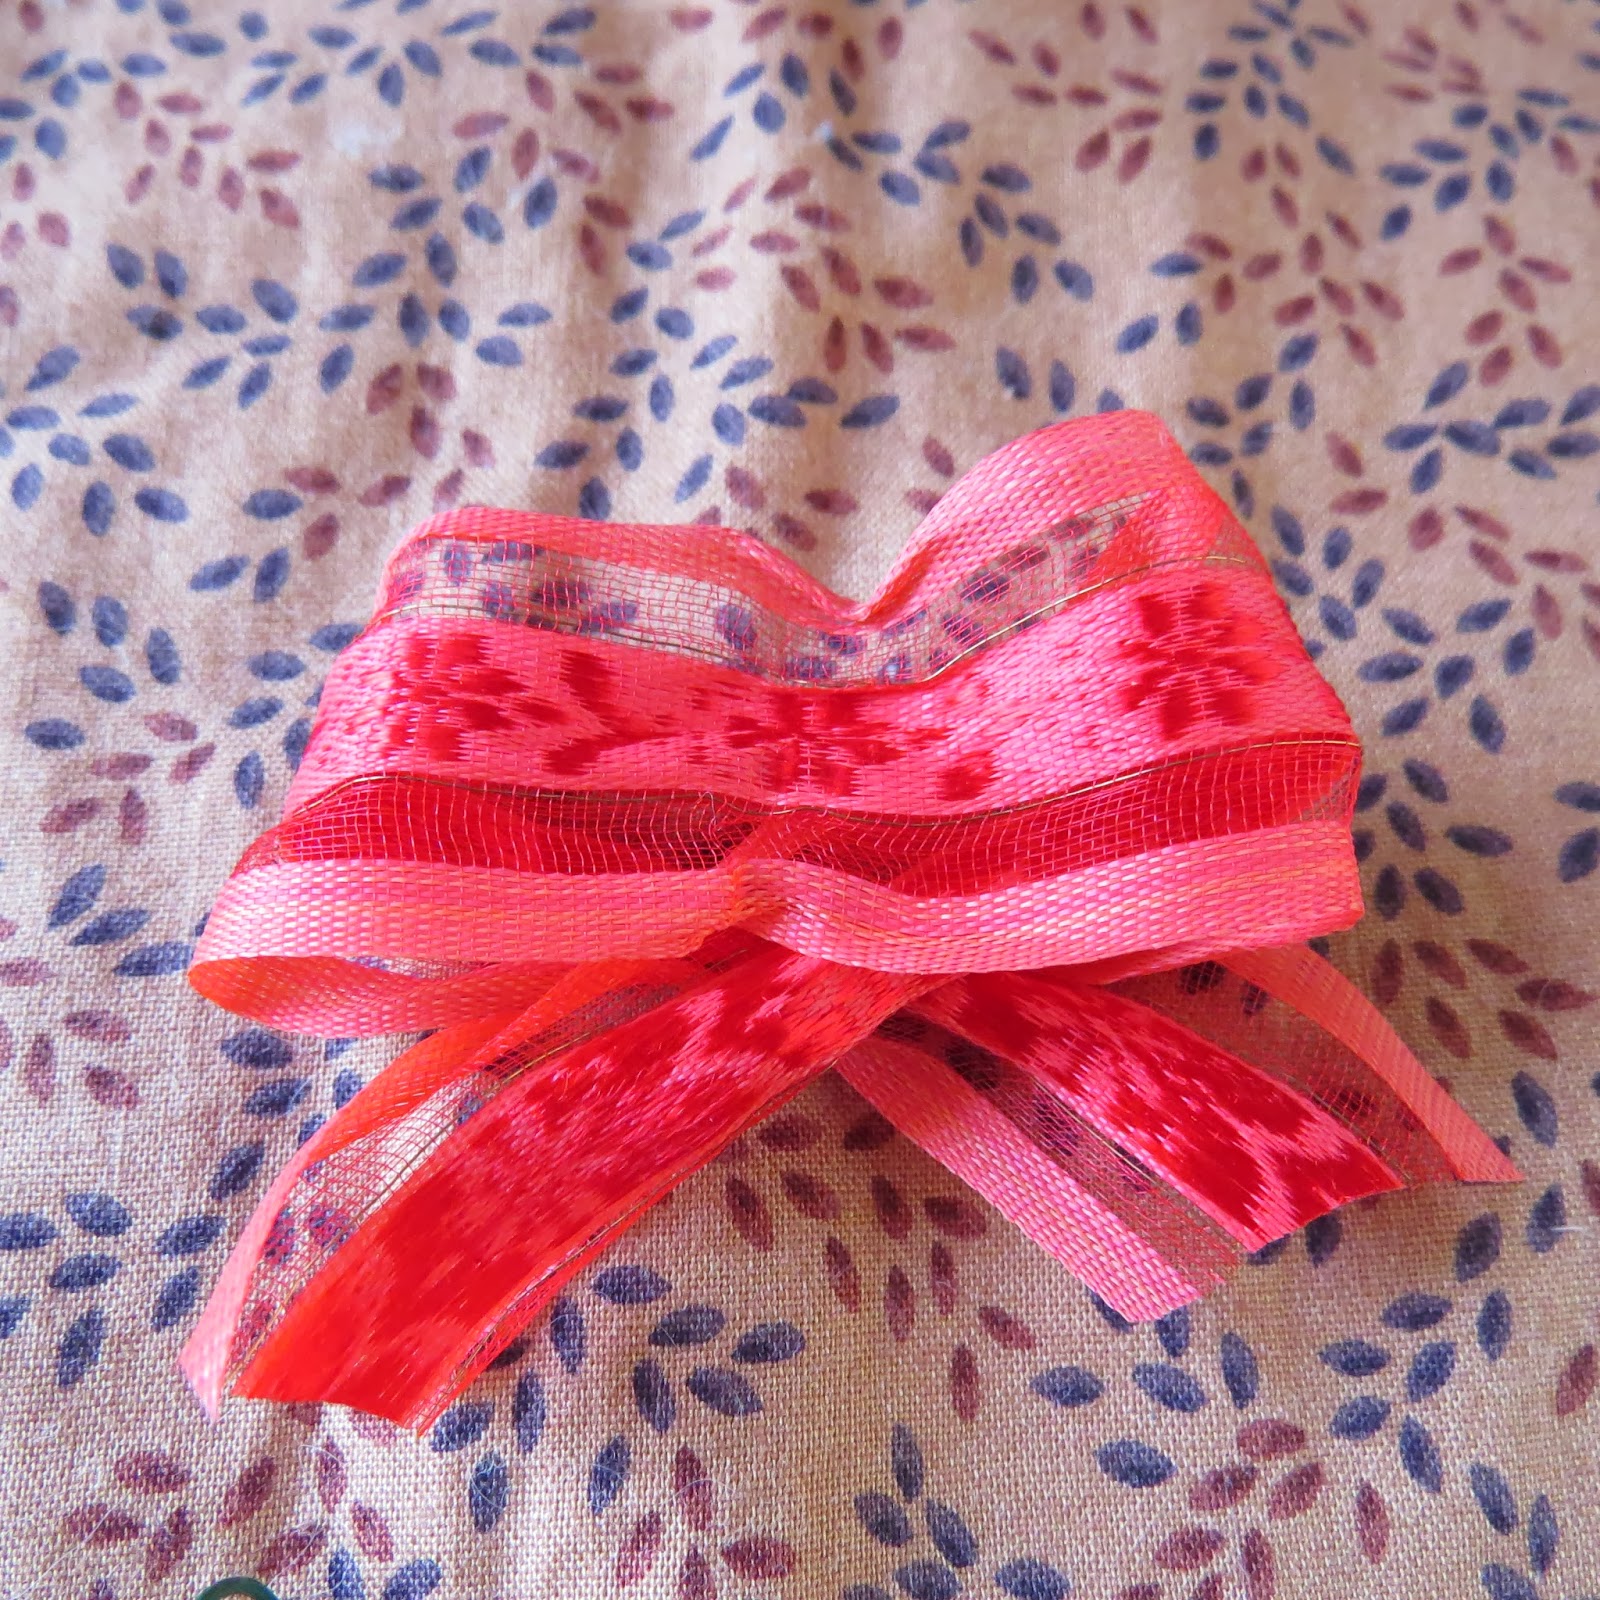
STEP 7 - Make the bow by forming it like the picture below.


STEP 8 - Put the bow in place and attach it by twisting the wire hanger around                   the bow to hold it into place.


Now you have a cute little ornament to remind you 
of the Joy of knowing Christ as Saviour
 and the symbol of everlasting life (the evergreens) 
and the blood of Christ (red berries) shed for you!


MERRY CHRISTMAS!


Luke 2:10 & 11 
"And the angel said unto them, Fear not: for, behold, I bring you good tidings of great joy, which shall be to all people.
For unto you is born this day in the city of David a Saviour, 
which is Christ the Lord."


Tuesday, February 14, 2012

Easy Truffle Recipe


 How to dip truffles into chocolate 
&
Melting chocolate tips
After mixing and freezing the above recipe, 
I prepare to dip the truffles in chocolate.

Melting tips:
- only melt about 1 cup at a time
- microwave method: place in glass bowl in microwave for 1 minute & stir.
   (If the chocolate is not fully melted after stiring thoroughly, place back in and stir at 
   30 sec. intervals.  *Remember that if you cook chocolate too long it looses its 
   consistancy.  So try not to over cook.  It will continue to melt for a while after you get 
   it out of the microwave because the glass bowl is hot).
- prefered method: I do not have a microwave, so I boiled water on the stove.  To melt
   your chocolate~ place a glass coffee mug with 1 cup of chocolate in a glass bowl.  
   Now pour boiling water in the bowl around the coffee mug.  Let sit for about a minute 
   and then stir. Your chocolate will become silky smooth the more you stir.  I love melting 
   chocolate this way,  because I don't waste any and it is melted perfectly (no overheating   
   here).

Now dip your truffles!


Helpful hints:
~ be sure that your truffles are frozen or they will be too soft to dip properly
~ keep a metal spoon in your chocolate (it helps to conduct the heat 
and keeps it from hardening faster)
~ dip using a small condiments fork or shishkabob skur


I dip the truffles and place them right onto
mini cupcake papers.

my Christmas  truffles - Yum!!!
 Place your choice of nuts, sprinkles, coconut,
or whatever you want on top.


Package in an airtight bag or container.
*They only last about a week on the counter, so freezing is suggested.

Hope your Valentines day was as sweet as my truffles!

Thursday, February 9, 2012

Easy Gift Idea #3 - Recordable Picture Frame

Did you know that Stampin' Up sells recordable cards?
Recordable cards are so much fun, but most of the time they eventually get stuffed in a drawer somewhere.

I like to give gifts to people that bless their lives.
So, I came up with the idea to make my own recordable picture frames.

In just a few short months I will be moving from the USA to South Africa.  
I know that once I am there, 
I will miss hearing the voices of my family and friends.  
God has blessed me with so many amazing people in my life.
If I could record everyone's voice with a special message I would.

Anyway, here is how you too can make a recordable picture frame.

I usually take the SU recordable card and cover the front with a piece of  cardstock and clear plastic (I cut up a page protector).
Be sure to leave the top open like a pocket so the picture can be replaced.
Now you can make the frame.


First, measure your picture frame.
Then, I put together what looks like a scrapbook page to fit the frame.
Just add the paper layers, colors and wording that you want.


Now place the page into the frame.


I like to add puffy sticker letters on top of the glass
to make the frame even more three-dimensional.


Then use Stampin Up's Red Sticky Strip to adhere the recordable card 
to the glass of the picture frame.
(You'll love this tape, it sticks to everything!)


I cut flower centers out of the scrapbook paper,
place them on dimensionals,
ans press them onto the flowers.
*Be careful when you press all of these things onto the glass.
If you press too hard it will break (speaking from experience).


Now add a tab to open the card
and
your favorite picture to go in the frame.


Your frame is finished, as soon as, you record a saying in your card.
(Just follow the instructions on the package.)

Hopefully, this will inspire you to capture some memories of your own.

Dresden Design project #3 - Lovely Lampshade

Dresden lampshade
This is a fun project that anyone can do in a short amount of time.
I had an old lampshade that I wanted to dress-up with SU's new Dresden Design die.
(If you do not have the Dresden Design, you can cut out your own Dresden pattern. 
Go to http://www.patternsfromhistory.com/colonial_revival/dresden-pattern.htm to print out the pattern.)


My lampshade is covered in SU Designer scrapbooking paper.  
It is a 2-sided paper, so I was able to use both sides 
(isn't it great that they are made to coordinate with eachother!).

To make your lampshade - 
1. cut dresden pieces using 2- 12x12 pieces of scrapbook paper.
    (You could also use a fabric instead.  I made two sizes. 
2. lay your paper pieces on the lampshade with smaller ones on top of large.
3. when you know that you have enough pieces, just pin them in place 
    (I did this so I can change it later, but you may want to glue it down if it is to be permanent.)


Since I am not a "pink" person, I made this one for display. 
After I take it off display, I will recover it with my colors.


For more ideas for the Dresden plate design search this blog 
and stay tuned for a few more amazing things you can do with this pattern.


Linking up with:
Jenny Matlock: Alphabe-Thursday

Sunday, January 22, 2012

How to Make a Paper Wreath

I have always wanted to make a wreath with scrapbook paper.
 I pulled some supplies out that I have been holding onto.
The base of the wreath was a foam wreath that I bought at the Dollar Tree.
 To get a rounded wreath, I first wrapped the base with quilt batting.
Then I cut 2 - 12 x 12 Stampin' Up Designer series paper into 3 x 12 inch sections.
Cut a fringe around one side of each strip.
 The best way to secure the pieces is to hot glue them in place.
Other adhesives will not stick to foam or quilt batting.
Start by wrapping each piece onto the base one at a time. 
 Overlap each paper strip with the fringed side on top.
When you get all the way around, just tuck the last piece in.
You will have gaps between the paper, 
so use the leftover pieces to fill in under the big strips.
I just love the birch looking paper!
To decorate the wreath I just cut out a 
few different sized pointsettias from some other SU  paper.
The centers are made of SU Chocolate Chip cordoroy button brads 
and some SU vintage ribbon.
Voila!
Here is my finished paper Christmas wreath!
You can see this wreath at the Creativi-Tea!
If you can't be there, that's okay.
I will be posting projects all this week.

Thursday, January 12, 2012

William Frey, artist


My brother, William and I enjoy lots of things together.
One of the things we like to do is art - drawing, painting, creating....

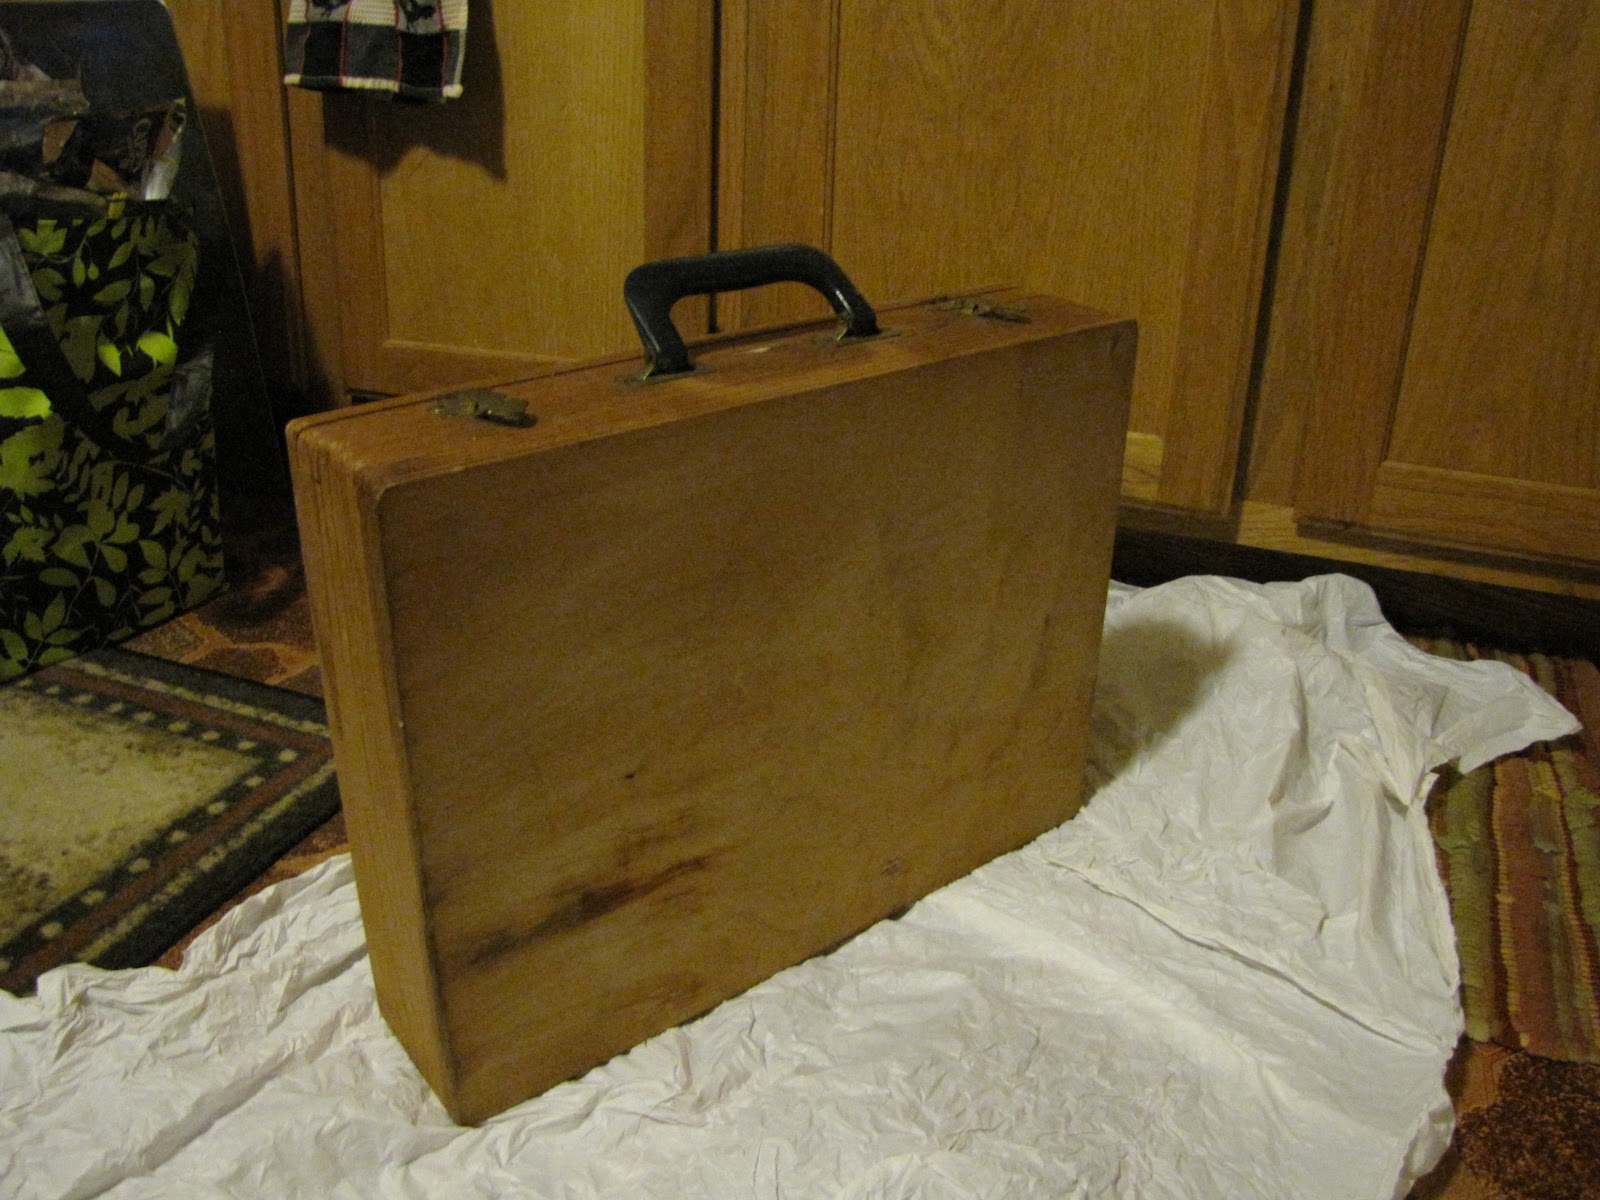
Just before Christmas I remembered that I wanted to paint this
box into an art case for William to put his papers and supplies.
Sadly, I was not able to get to this project until after Christmas.
First, I painted it with a white base coat.
Then, I painted a Royal Blue over it using a watered-down method.
This technique is done by first dipping your paint brush into water 
and then in the paint.
After the paint dried, I sanded the entire case.
With a little help from Buddy :)
William and I love to travel together.
So, I painted the art case to look like a world traveler's suitcase.

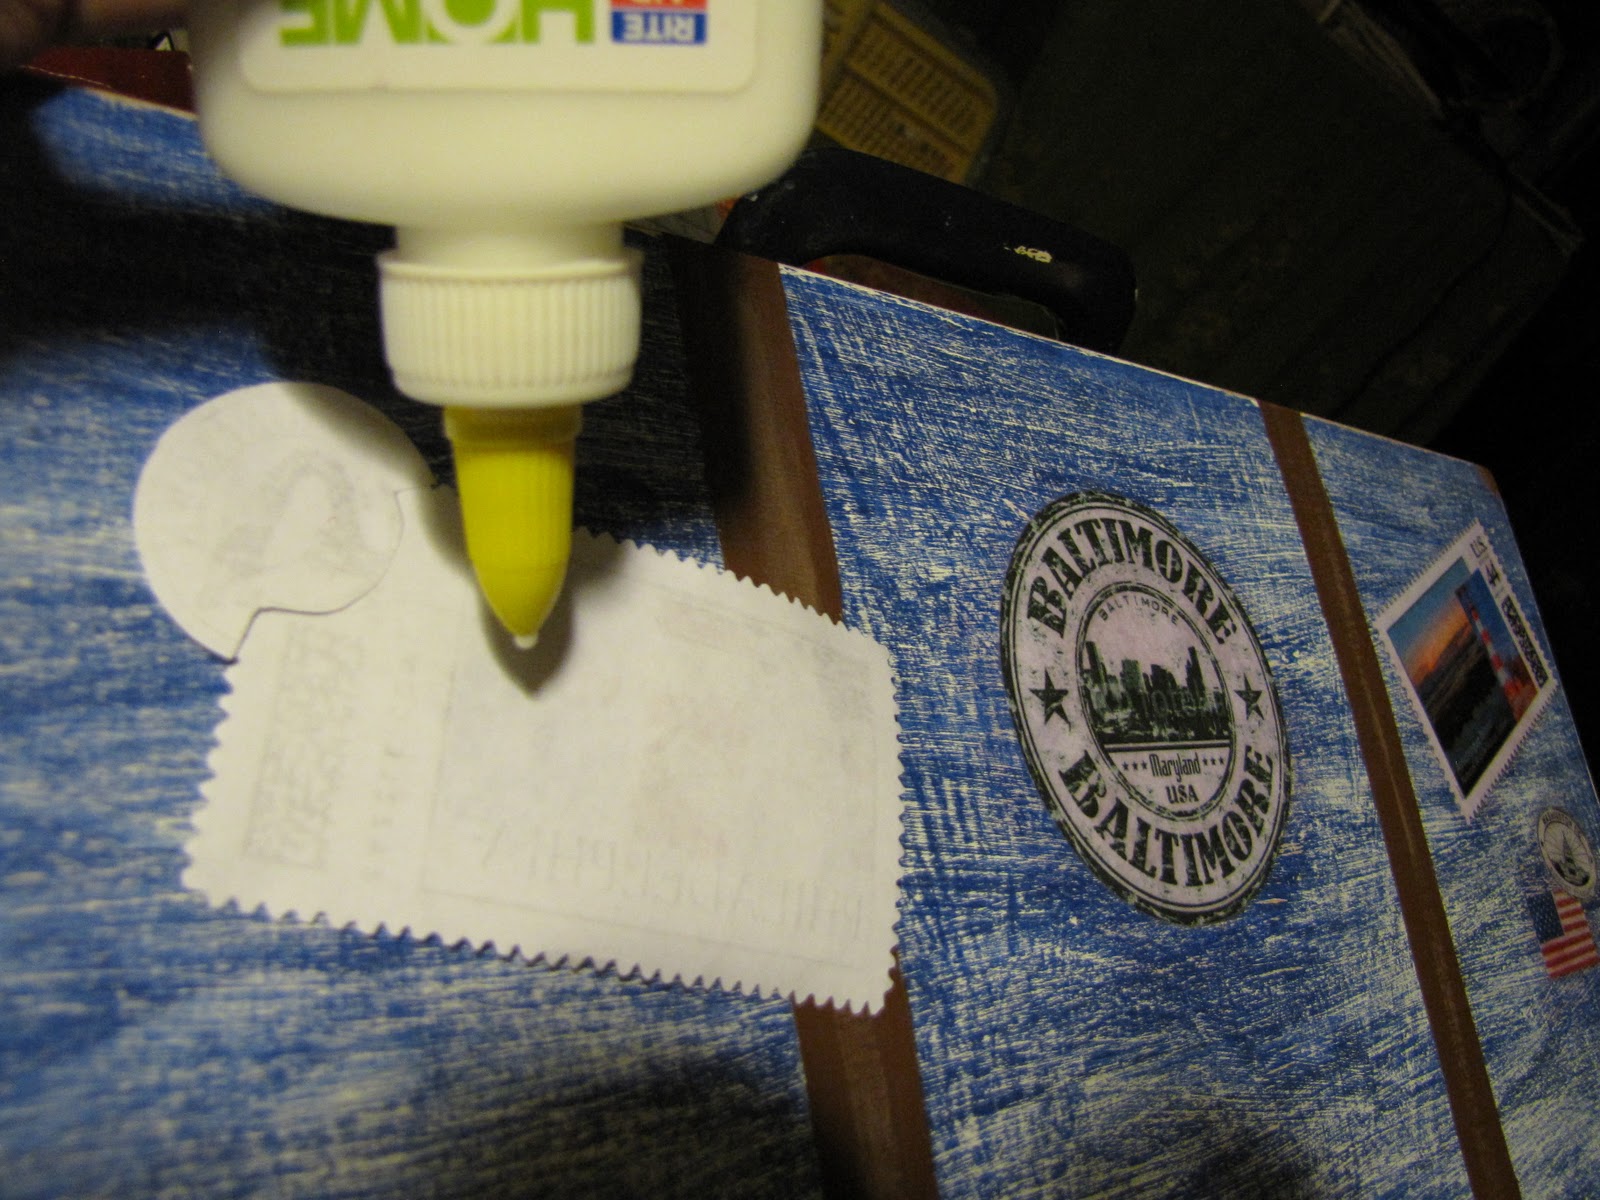
Then, I went online and found some travel stamp images
 from places we have been.
I printed them out, cut them out, and glued them to the art case.
To be sure they would last, I covered them with glue.
The brown painted straps needed more to make them look real.
I used my Encore 3-D Glaze pens to add stitches to the straps.
(Later, I used the same pens to draw buckles on the top of the art case.)
The final coat of paint was a dark brown.
I applied the paint to the entire case by dipping a rag in the paint and then rubbing it onto the case, giving it an aged look.
For finishing touches, I painted a tag on the top
(which I later wrote "William Frey, artist").
With a "hobby tool" that dad got me a few Christmases ago,
I buffed all of the paint off of the hardware.
 The handle was beyond repair, so I covered it with ribbon.


What to paint on the inside?
The African missionary in me said, "you can't go wrong with animals!"
So I painted the inside of the lid and lined the bottom of the tool tray
with scrapbook paper that matched.
William and my parents hope to visit me one day in South Africa,
so, the inside will represent the future of my artist/world traveling brother.
When I finally finished the case and gave it to him last week,
he was delighted.
What surprised me most, was that he seemed to realize all of the hard work, love, and care I put into the project.
He has already sketched a number of pictures.
Thank you again Lord, for a brother who loves the simple things in life!