Showing posts with label stamping. Show all posts

Saturday, December 28, 2013

Tidings of COMFORT & JOY - Ornament


This is one of the simplest ornaments I have made.

SUPPLIES - 
- white, red, & green cardstock
- green ink 
- Christmas greetings
- red glitter pen
- ornament paper punch
- gold cord
- pearl bead
- double sided tape/Mono Adhesive


INSTRUCTIONS- 
STEP 1 : Stamp your Christmas greetings onto the white cardstock. 
              You should have a front & back for each ornament.

STEP 2 : Use the red glitter to accent the stamped images. Set aside to dry.

STEP 3 : After the images are dry, punch them out using the ornament punch.
              (I used Stampin' Up's ornament punch.)
   
STEP 4 : Then punch 2 red & one green for each ornament you want to make.


STEP 5 : Adhere the layers together with the double sided/Mono adhesive.

STEP 6 : Use a large needle or piercing tool to poke a hole in the top.

STEP 7 : Put the gold cord through the hole and then through the bead.
              Knot the gold cord at the top.

STEP 8 : Fold the white and red cardstock a little so that the ornament is
              no longer flat, but 3d.
(I made these ornaments as a gift for our Ladies Christmas Tea.)


Tuesday, January 31, 2012

Dresden design #1 - Felt Snowmen

I made these cute little snowmen the other day,
just in time for the Saturday snow.
After all, it is still Winter, so I am allowed to make snowmen!

They were so easy to make.
You need the following supplies:
white/off-white thick or furry felt
black embroidery floss
sewing needle
scraps of red plaid and solid green material
black brads
stuffing
gluegun

Step#1 - cut 2 Dresden pieces out of felt
(I used Stampin Up's new Dresden design die in my Big Shot Sizzix machine)
(Tip:it is best to cut thick or furry felt one layer at a time)

Step#2 - sew around your snowman with a blanket stitch leaving the head unfinished and the curved bottom separated.
(Tip:notice, I started around the bottom curve of one side 
and went all the way around to the other curved opening.)
Step#3 - stuff your snowman

Step#4 - cut strips of your solid green scrap material for the hat
I think I cut a piece that is about 2x6in.
(Tip: make sure it is wide enough to go around his head 
and long enough to fold over twice.)

Step#5 - using your glue gun, pipe hot glue in a line 
along the edge of your fabric.

Step#6 - immediately fold just enough of the material 
over to cover the glue.

Step#7 - repeat step5&6
Now you have a fold for the bottom of your hat.
Step#8 - Now hot glue the hat to your snowman's head.
Step#9 - Wrap & glue the green strip all the way around.
Step#10 - Using your red plaid scrap pieces, 
cut scarves and top ties for the hats.
Step#11 - Tie on your scarves and hat ties.
(Trim when finished)
Step#12 - add your black brad eyes by just poking them in.

Now you have some cute little snowmen for next Christmas.

I really enjoyed watching the snow fall, 
while I made these cute little felted men.

Thursday, January 26, 2012

The CREATIVI~TEA


Monday night was the Creativi-Tea.
It was a Ladies Tea designed to share some creative ideas 
with ladies and girls.

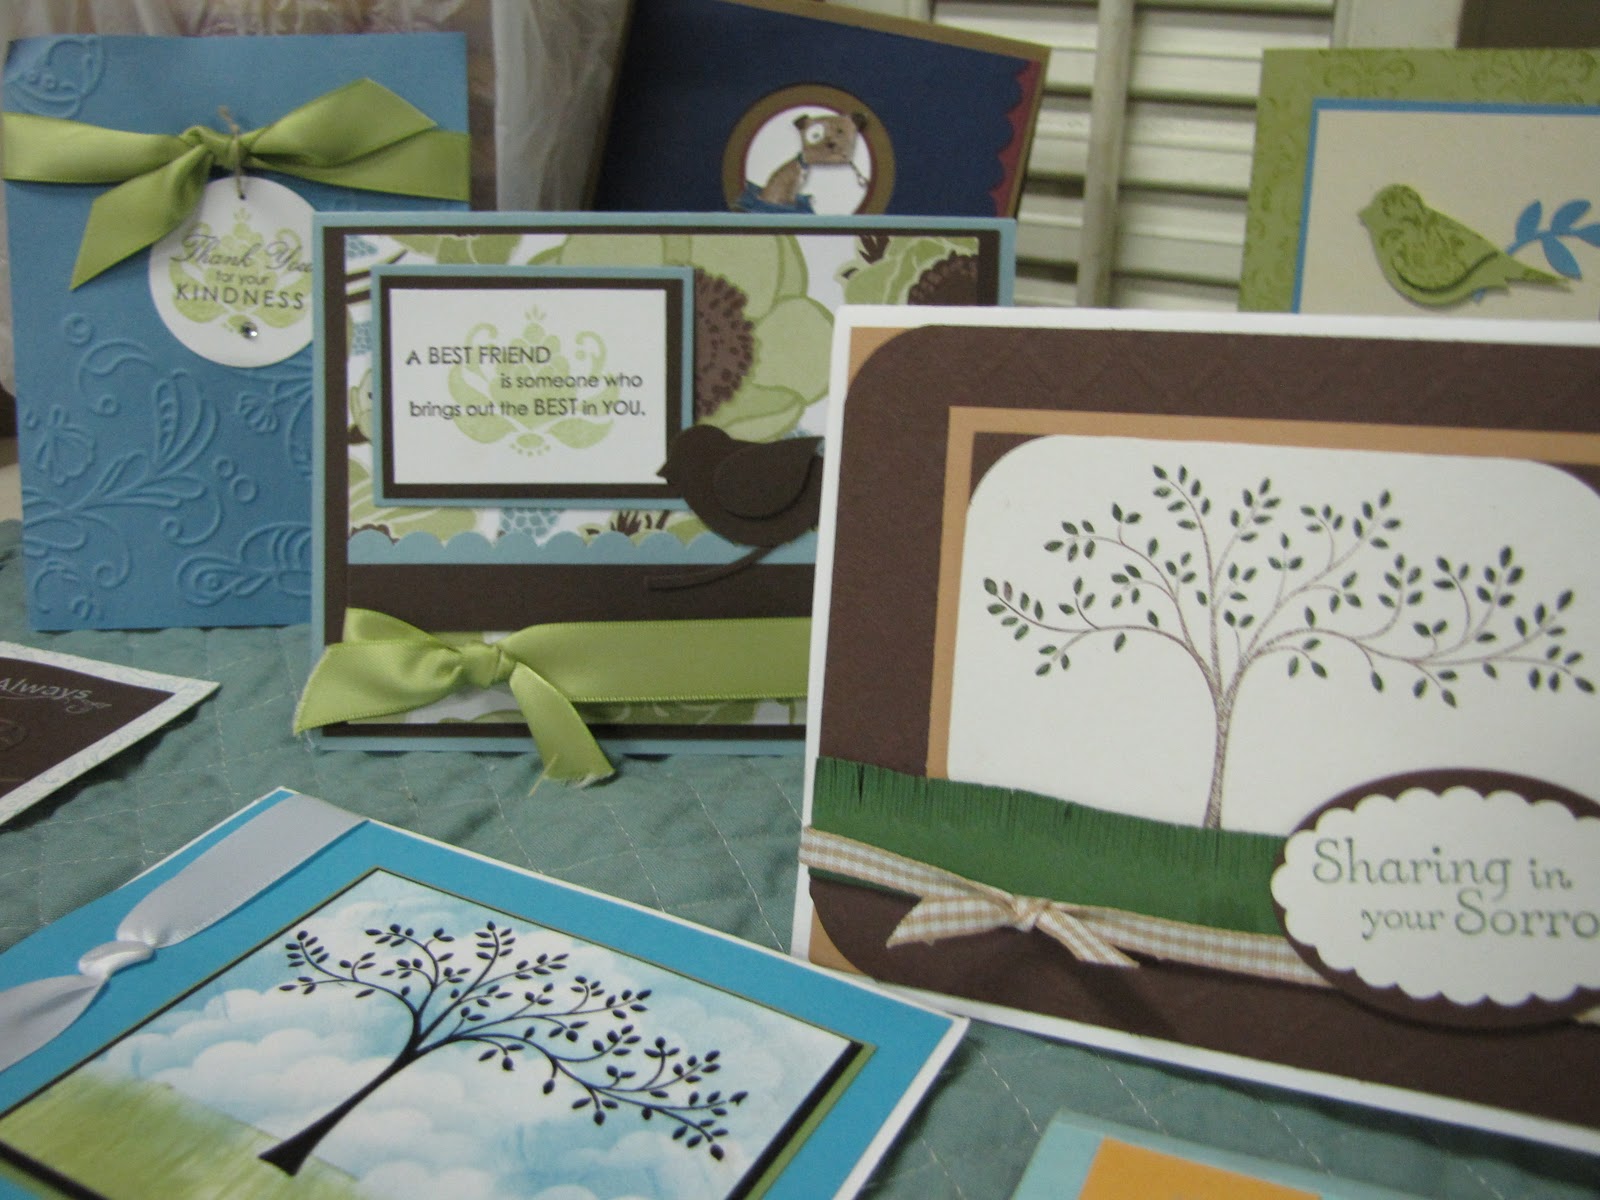
Five spectacular displays were set up to showcase many ideas of what you could do with Stampin Up and other crafting products.  
(I used the word "spectacular" to describe the displays 
because they took alot of work to set up.)

Here is a look at the displays:


VICTORIAN


Springtime Colors


CHRISTMAS


Bold & Bright
(my favorite)


Soft & Subtle


We enjoyed a delicious tea.

While my mom and I did a quick skit while sharing some great new 
crafting, quilting, & stamping techniques and products.
After the demonstrations everyone split up into different craft stations.


Some enjoyed great times of fellowship.

Others worked in the quilting station.
Others made beautiful flower pins and baretts.
   
New stampers sat and looked in awe at all of the products
 that Stampin Up has to offer.

Everyone seemed to enjoy the food, fun, & fellowship.
Time went too fast.  
I enjoyed the fellowship with the ladies and teaching them new things.

Can't wait to get to South Africa to do the same.

My future posts will contain
instructions on how to make some of the items on display.