I am a very sentimental person.
It seems that wherever I go I collect little remembrances
(coffee cup warmers, empty sugar packets, rocks, dried flowers, ticket stubs for museum exhibits... Yes, it seems that I keep alot.) Those little things were adding up.
I was getting so busy going from one State, event, or ministry to the next.
All of that busyness kept me from rehearsing after one of those things all that the Lord had done. I wanted to remember all that the Lord has done in my life
and all that He has used me to do in others lives.
The Bible says,
Ps 77:11 " I will remember the works of the LORD: surely I will remember thy wonders of old.", and
Ps 143:5 "I remember the days of old; I meditate on all thy works; I muse on the work of thy hands."
Remembering what God has done in our lives is very important.
Sometimes during deputation, as I am raising support to go to South Africa, I feel alone in this journey to the mission field. I know that I am never alone with the Lord, but I am also never alone because of all of the people who are praying for me and take the time to write to me. With all of this in mind I decided to make a remembrance wall. This is something that I have wanted to do for a very long time. Finally, this Summer (between all of the meetings, camp, and VBS) I was able to put that desire into action. I decided to create a wall that fits into the rest of my wall decor, but will be functional for all of my remembrance needs.
This was the wall I chose.
It is a medium sized empty wall that you can see as soon as you come in the front door.
I can look at it from the couch, kitchen table, as I work in the kitchen, and as I go busily in and out. It is the perfect wall to place things that remind me of what God has and is doing in my life.
The only problem is the thermostat positioned oddly on the wall.
After asking some of the men if it could be moved or removed,
I came to the conclusion that there was nothing to do about it.
I'll just have to be creative.
First thing I did was go to my favorite store - LOWES!!!!
Some girls get excited about clothing stores, but I love LOWES!
For a while I have wanted to use this magnetic primer.
Finally, a project that I could use it for.
This is the border and wall paper on the other walls in my living room
(the border was free and the wall paper I bought at the Salvation Army.
It was only enough supplies to do the other three walls, so I left the wall I am working on bare).
After looking at the wall paper border, I decided to paint a large barn on the wall.
First step when painting something on a wall is to first draw it on with pencil. I do this to make sure the size of an object is in proper perspective. It is also great because when you paint, you cannot see the pencil marks.
Once the barn was drawn on the wall, I decided where to put the Rustoleum Magnetic Primer.
The paint is around $20 for a 30fl.oz can.
Because it is so pricey and I need to apply a number of coats, I only painted the wall in certain sections. Two important things you need to know about using this paint -
1) The paint has a very strong odor.
If you have birds or other pets that are sensitive to fumes, I would suggest that you remove them from your house for a few days. I live in a small trailer and had all of the windows open with a fan running and the smell still was very strong for a few days.
2) Be sure to apply the paint in thin even coats.
In order to get a good metalic prime for a magnet to stick, you need to apply a thin even coat.
Then let that dry and paint again. I applied 4 or 5 coats. Most magnets easily stick to my wall.
Remember, after applying the metalic primer, another coat of decorative paint goes over top.
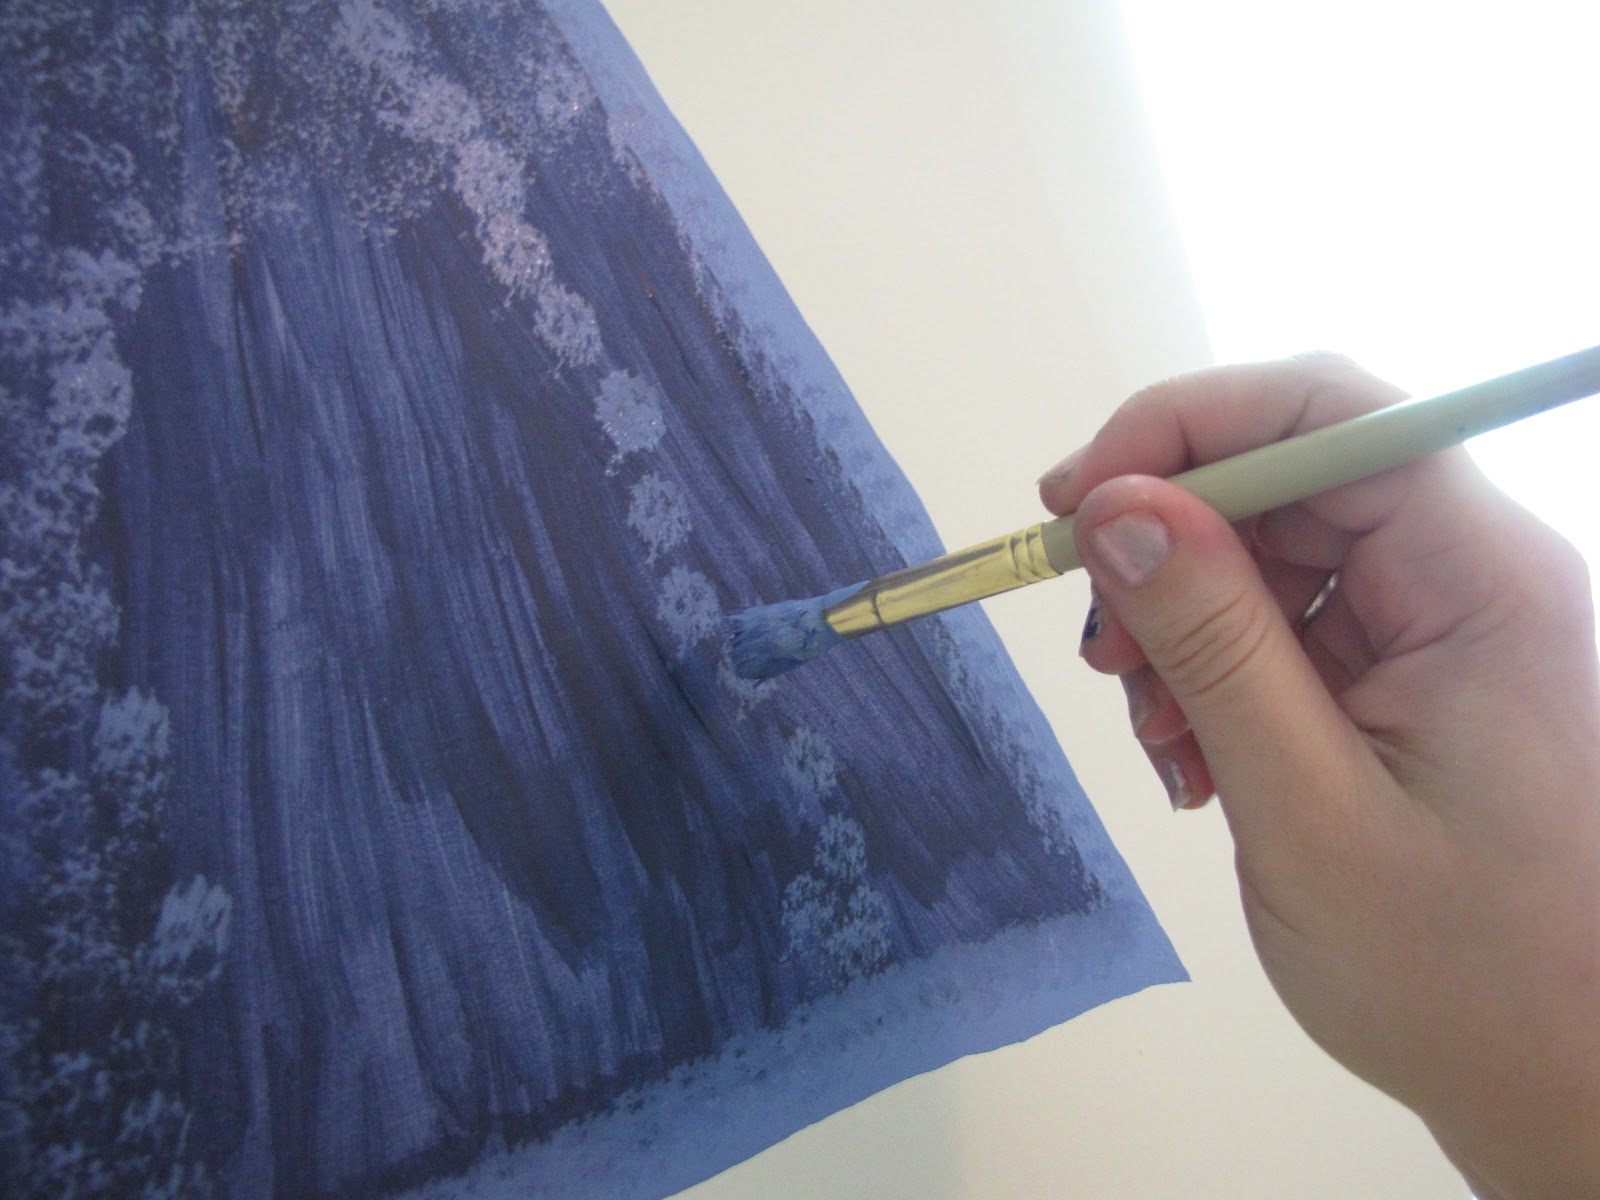
To make the barn boards, I used a well-worn flat paint brush.
By painting with the brush in an up and down motion,
I was able to make the paint texture look like barn boards.
You can see the texture that this technique adds to my barn.
After painting the red barn boards, I painted the black roof.
Using your brush again without dipping it back in the black paint,
you can paint the roof shadow.
I also used an almost dry brush to paint the markings on my silo.
The silo and grass at the bottom of the barn were done with paints that I mixed together to match the green on the wall paper in the rest of the room.
The barn boards were outlined in black with one of my favorite tools - a black Sharpie marker!
Aren't Sharpies amazing!
Notice that I even drew nails on the boards.
After drawing the barn board outlines, I painted the window frame and doors.
Again I used the Sharpie to add handles and a hook.
On the window frame, I used the Sharpie just to make a little detail on the frame.
After that, I again used some black paint on a dry brush to add a little shadow on the frame.
The barn looked so bare until I added the shelf
(which I bought unfinished years ago at a thrift store for $1.95 and was using in my kitchen).
The shelf adds the extra space I need
to put things that cannot be placed on the wall with a magnet.
As you see, I painted it with the same colors that I painted the barn with.
Placing it just below the thermostat, helps to hide the eyesore.
It also has a bar across the bottom for hanging things.
I usually lay my cards over it, like this.
I almost forgot to mention the grass.
As I said before, I mixed a green paint that matched the wallpaper in the rest of the room.
After painting the green grass, I added some brown to add a little depth.
Notice the picture on the wall. Yes, it is hanging on by a magnet.
I have found that it is best to use one of those clear refrigerator frames to hold the larger items. I actually used one made for a 4x6 picture, but you can hardly tell.
This item is one of the heaviest I have placed on my wall because it is made of 8 1/2x11 cardstock that has been laminated, has a thank you card, and my team button attached.
If you follow the painting instructions the magnetic paint will work great!
I love my remembrance wall!
Right now I just cleaned it off for Thanksgiving,
because I know I will have alot to add to it this week.
Hope you enjoyed this.
If you have any comments or questions please feel free to email me.
only1life2offer@juno.com