Showing posts with label kids crafts. Show all posts

Saturday, December 28, 2013

Joy Wreath - Ornament


In review of the lesson from the week before & the Wreath Card,
we made this cute ornament.
We reminded the kids that JOY comes from knowing Christ as Saviour. 
Then we talked about the joy and rejoicing surrounding the birth of Christ.

SUPPLIES:
- 16 green "pony" beads
- 7 smaller skinny red beads
- 3 small round red beads
- 8in piece of craft wire
- "JOY" charm
- 6in piece of red ribbon
- wire cutter
- long nose pliers

INSTRUCTIONS:


STEP 1-  String your beads onto the wire.  
              Hold one end of the wire, so that the beads will not slid off.
              2 green, 1 sm. skinny red, 2 green, 1 sm. skinny red, 
              & repeat pattern till all the beads are used.

*Tip: We did this craft together.  I had a bunch of review questions to ask and as they answered them, everyone got beads to put on the wire, until all of the beads were on.


STEP 2 - Make your wreath shape by twisting the wire together at the top.
STEP 3 - String the 3 small round red beads onto one side of the wire after it
               is twisted in place.
STEP 4 - Attach the "Joy" charm just below the red beads.
STEP 5 - Cut the wire shorter and use the pliers to curl the wire behind the 
              "Joy" charm.
STEP 6 - Curl the other side of the wire into a hanger for the ornament.


STEP 7 - Make the bow by forming it like the picture below.
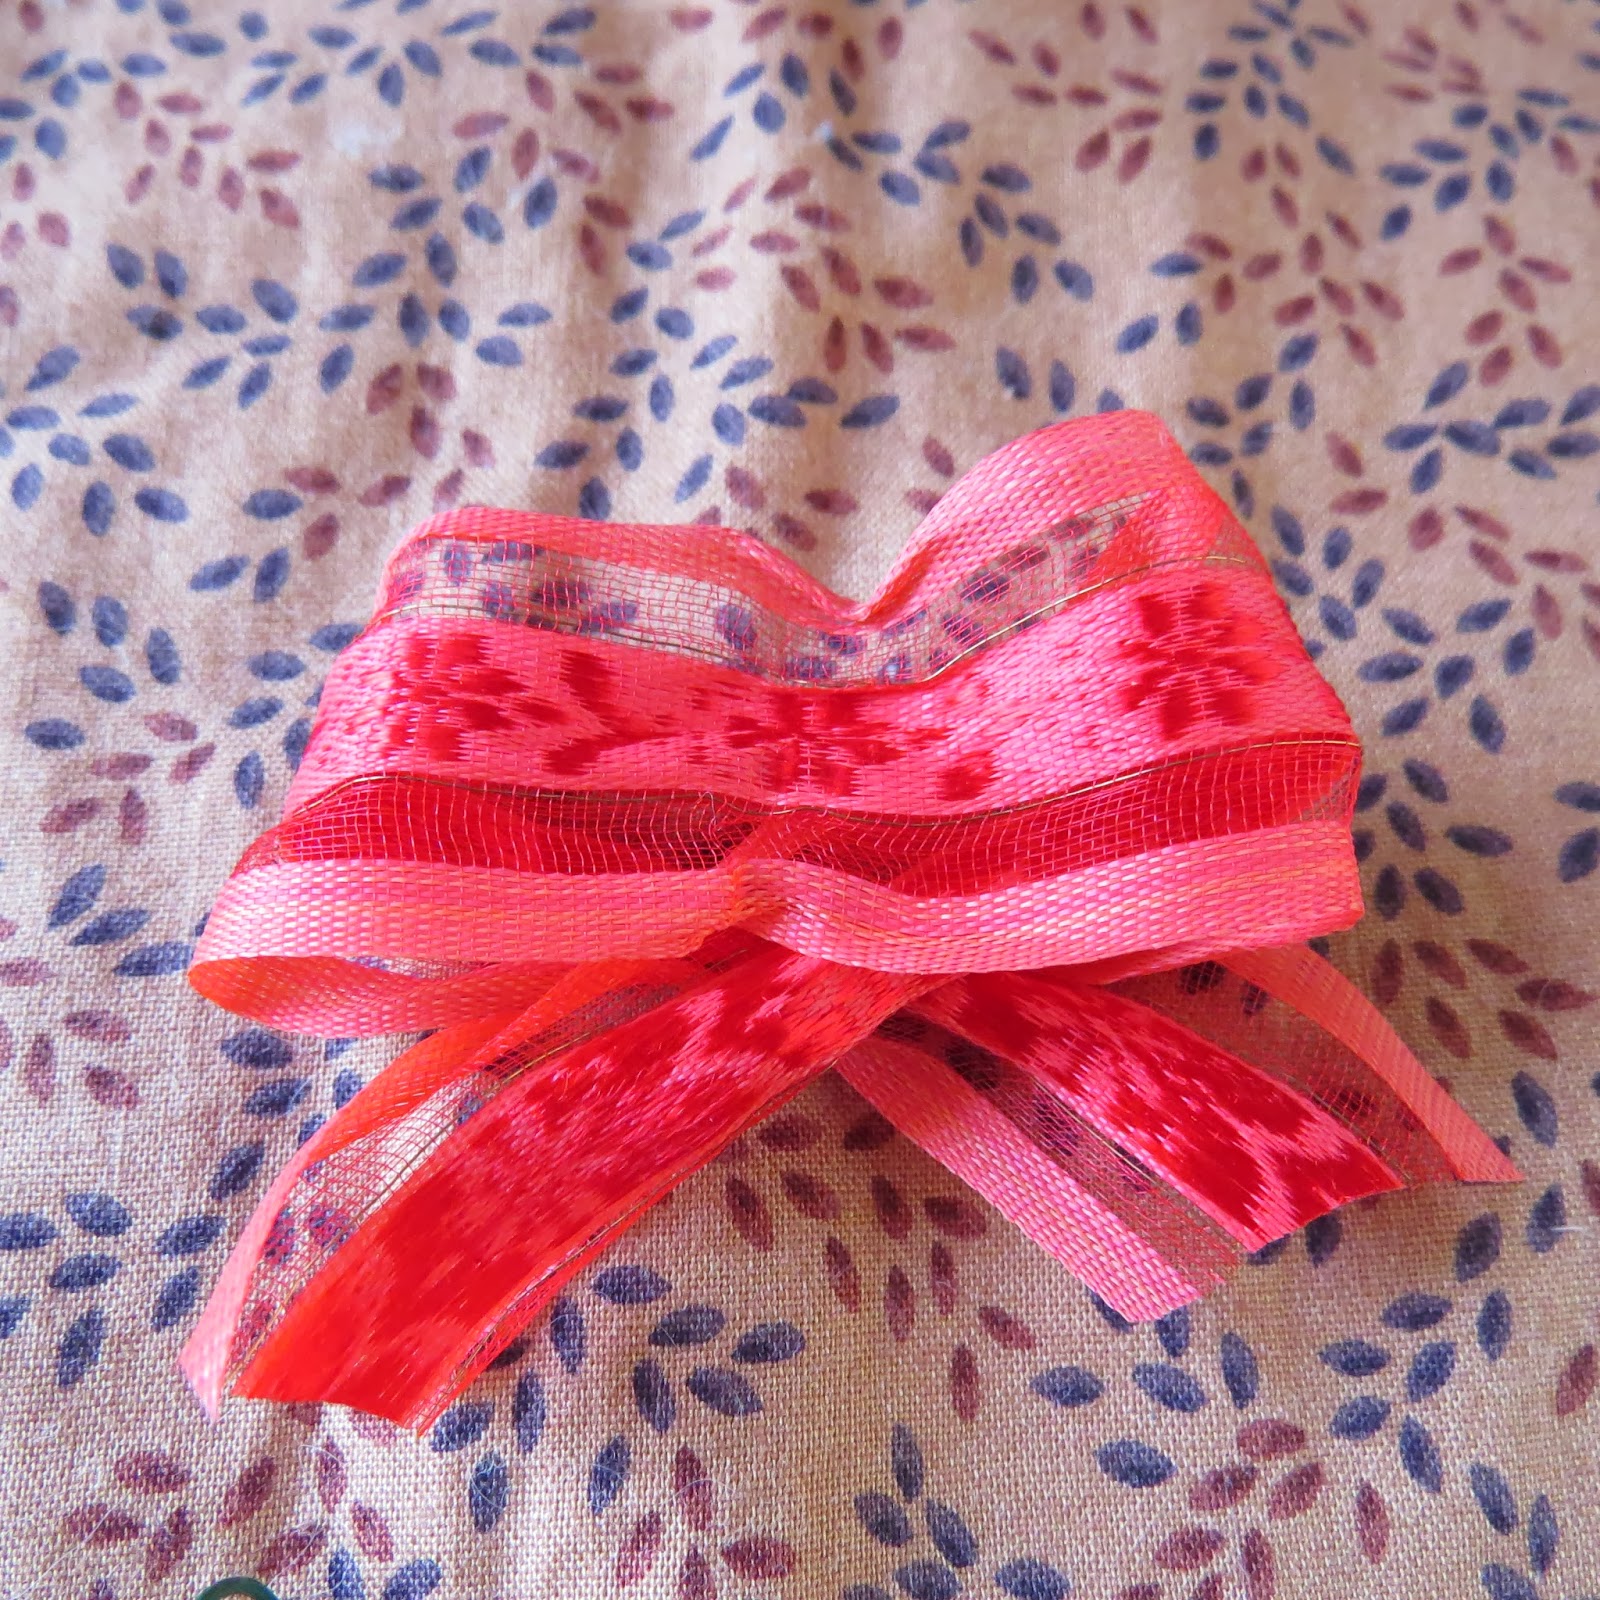

STEP 8 - Put the bow in place and attach it by twisting the wire hanger around                   the bow to hold it into place.


Now you have a cute little ornament to remind you 
of the Joy of knowing Christ as Saviour
 and the symbol of everlasting life (the evergreens) 
and the blood of Christ (red berries) shed for you!


MERRY CHRISTMAS!


Luke 2:10 & 11 
"And the angel said unto them, Fear not: for, behold, I bring you good tidings of great joy, which shall be to all people.
For unto you is born this day in the city of David a Saviour, 
which is Christ the Lord."


Sunday, December 22, 2013

Holly Wreath Card

There are always special projects to do in Sunday School or Junior Church as Christmas is approaching.

I have 3  different things that I have done this year.

The first is this wonderful wreath card 
that we made a few weeks back.

When you teach the children about Christmas, 
you want to show them that the true focus
is about the birth of our Savior.

Below, you will find 
step-by-step instructions and online printables 
to help you have this project ready for children or adults.


SUPPLIES:
- red cardstock 4 1/4 X 5 1/2 inches
- white cardstock 4 1/4 X 5 1/2 inches 
   (printed with the Wreath Card base/inside)
- one wreath from the Holly Wreath Template
- something to cut out a window on the red 
  cardstock.
   (I used my Creative Memories tools, but you could just      
    trace a cup and then cut the shape.)
- cellophane for the window piece 
   (I used the plastic from a bouquet of flowers.  You could 
   use an overhead transparency, plastic packaging, or 
   purchase cellophane.)
- a copy of the Wreath poem
- red, green, & black Sharpie
 (I suggest that you use the Sharpie brand, because it is
  more permanent and dries faster than others.)
- brown crayon or colored pencil
- double-sided tape
- glue stick (optional)

STEP-BY-STEP INSTRUCTIONS
1. Cut a window in the top half of your red cardstock.


2. Cut your cellophane a 1/2 inch larger 
than the size of your window.


Set aside your red cardstock.

3. Center your cut cellophane piece over 
your Holly Wreath Template.
(use one hand to firmly hold it in place)

4. Trace the Holly Wreath Template with the black Sharpie.


While the children are coloring talk about how
 the evergreens in the wreath represent the everlasting life 
we can have through trusting in Christ as Saviour.

Then ask them what they think the red berries represent.
Yes, that's right, the blood that Christ shed on Calvary for our sin.


5. Use the green Sharpie to color in the holly leaves.
6. Use the red Sharpie to color in the berries.
Set aside the colored cellophane.

7. Use a brown crayon or colored pencil to color 
the crown of thorns on the white cardstock.

8. Use a glue stick or double-sided tape 
around the inside edge of the window.

9. Center your wreath on the inside of the window over the crown of thorns and adhere by pressing down.

10. Use double-sided tape on the left-hand vertical edge to adhere the red to the white cardstock.
This makes your card.
Below is the best tape that I have found. 
This tape sticks to everything (metal, glass, walls, cardboard, paper, ceramic,...
so be sure to line it up well.
You may be able to find something similar at the craft store.
This heavy duty tape is always red, so look for a red roll of double-sided tape.

11. Use the glue stick or double-sided tape to adhere the Holly Wreath Poem to the front of your card.

This is what your finished project should look like.


Tuesday, November 19, 2013

Paper Fishes & Chalkboard Art

For a while now, I have admired those beautiful school of fishes
 that I see people making on pinterest.

I don't really have a fish theme going on at my house, so there was never a reason to make them.

It was just a dream until now.


Mission's Conference was upon us 
and the theme was -
"Fishers of Men"


What better way to portray the millions of lost souls out in the world
than a school of fish!!!


My internet was off for the bajillionth time,
so I spent a few hours at church getting caught up on my 
communications and cutting out my massive schools of fish.


I found the pattern for the fish on this website.

I thought they would be hard to make, but they were super easy.
For the blue fish, I used double sided wrapping paper
and the brown fish were made from the craft roll the wrapping paper was on.
(Thrifty, huh!)
I Stamped the craft paper with a Stampin Up "Canvas" background stamp
 in SU Brilliant Blue ink.

Then, I used sticky tac (or as they say here "press stick")
to put my school in place.
I love the way thier tails just naturally go to one side or the other!


They were so easy, that I traced my fish patterns
onto some doublesided scrapbook paper
and took them to Junior church
where the children cut out & put together thier own fishes.
I added a salvation verse to the fishes and then attached them
to a skewer with a piece of thread.

It was so cute to see thier happy smiles 
and to hear them sing "I Will Make You Fisher's of Men".


Sunday, March 24, 2013

Egg-stra Fun Easter Craft


The other year, my brother and I decided to do something for Easter that will last a lifetime.
I am finally (2 years later) getting the chance to post this.

We decided to make a new craft out of eggs.

To make this craft, you will need:
-fresh eggs
- a large needle
-bamboo skewer
- lots of hot air
- masking tape
- imagination
- sand/grit
- acrylic paint
- beads or other accessories
- wire
 
STEP 1: Pierce a fresh egg on the top and bottom with the needle.
(One hole to blow through and one hole for the yoke to go out of.
*If you have trouble getting it all out try popping the yoke with your needle.)

STEP 2: Make the holes larger by twisting the skewer into the hole.
(don't twist too hard or you will break the egg)

STEP 3: Now blow the yoke out of the hole.

STEP 4: Clean and dry the egg.

STEP 5: Get creative!
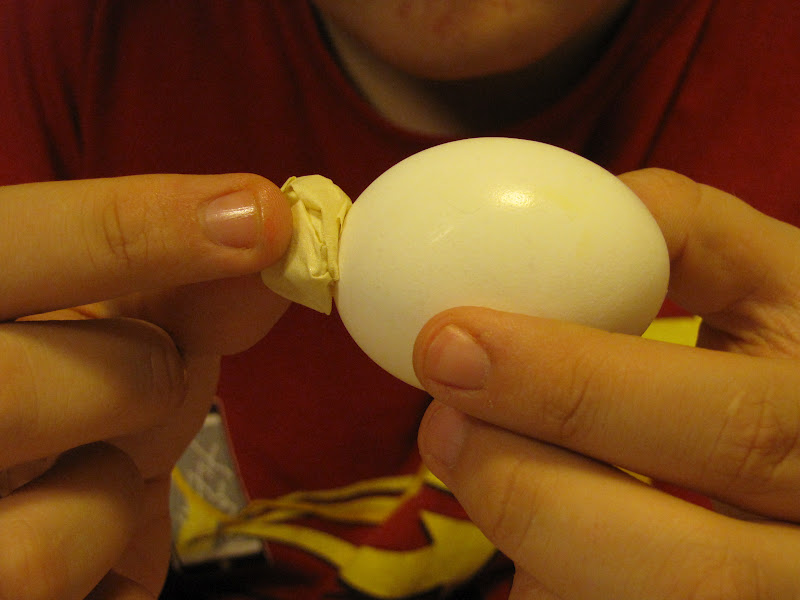
I wanted to make a bird so I first formed his head.

Then I used the tape to make his body.

My brother, William, wanted to make a cat.
See the head and ears?
Pretty good, huh!

Here are the wings on my bird.

I continued to wrap it with masking tape.


William's cat is taking shape too. 
See how he made the feet and attached them to the egg?

This is my finished bird and partially finished rooster.

William got all four legs on his cat. 
Its so fun having a brother who loves to create like I do!

STEP 6: Attach the hanging wire.
I just cut a piece of wire, shaped it like above,
and then taped it onto the bird.

Now the cat has a tail !!!

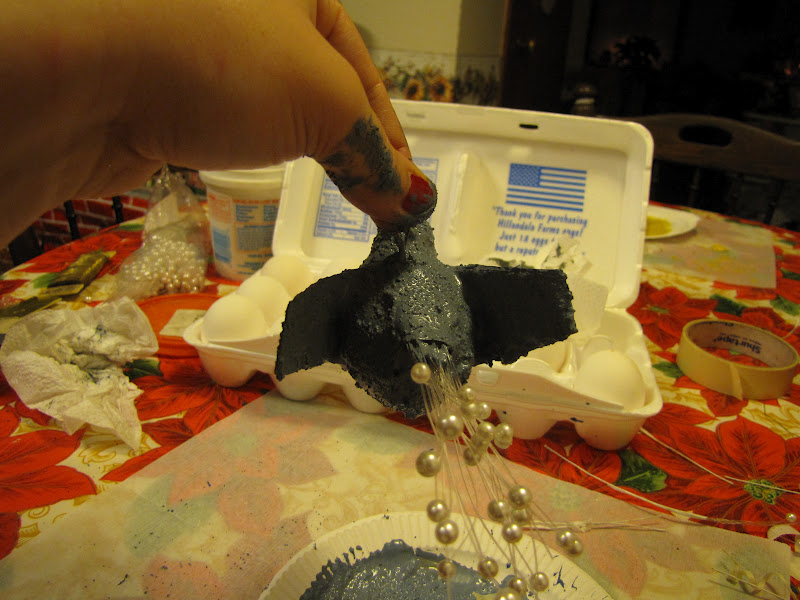
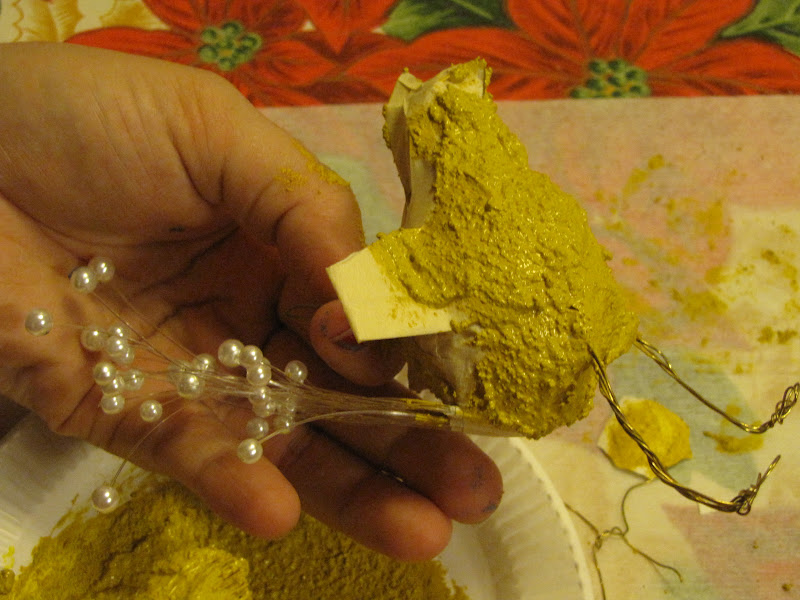
STEP 7: Mix your paint colors and add just enough sand/grit
 to give your paint the texture you need.
*I chose to do this to cover up the tape seems.  
It gives the ornaments a cleaner, textured look.
STEP 8: Paint your ornament.

Be sure to give it a nice thick coat of paint.


You saw how I made the bird, but the chicken was a little tricky-


I used wire to make feet for the chicken.
Then I used tape to secure the feet in place.
I already showed you how to do the rest (see steps above).


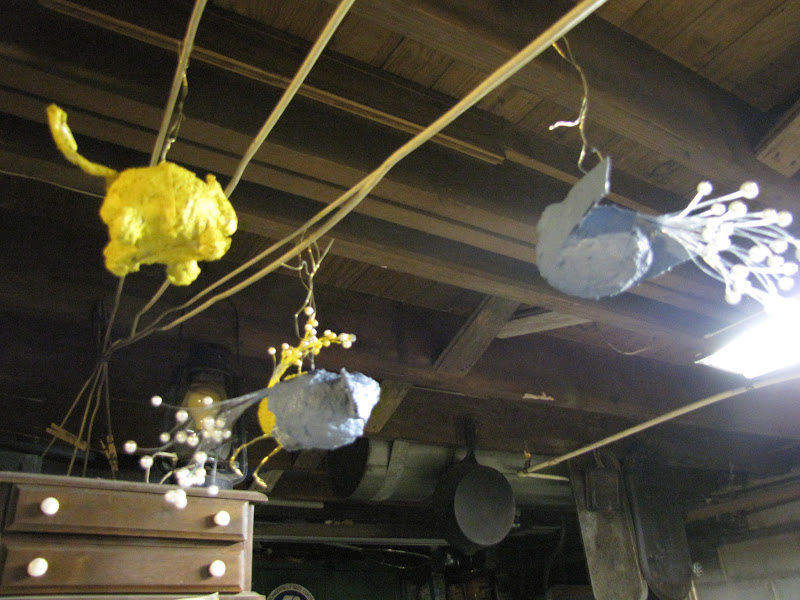
STEP 9: hang to dry.

ENJOY!!!


Linking up with: Rustic Renovations Weekend